A Whirlpool dryer not heating properly can be just as frustrating as the wet clothes it leaves behind. Few of us have time to devote to another means of drying much less troubleshooting the problem. From overloading to clogged dryer vents, we’ll discuss common causes for a Whirlpool dryer not drying to prevent more time from slipping away.
Whirlpool Dryer Not Drying Clothes? This Could Be Why
Whether you have a gas or electric dryer, Whirlpool dryer troubleshooting doesn’t always involve a malfunction or repair. These 5 common causes often require simple interventions to restore your dryer’s function.
#1. Drying Too Many Items
One of the most common reasons for a Whirlpool dryer not drying properly is overloading. When the drum is stuffed full of clothes—or when you try to dry more than one wash load at a time—warm air can’t circulate evenly. The result? Some clothes come out damp while others dry unevenly, forcing you to run extra cycles.
How to prevent this issue:
-
Avoid filling the dryer completely to the top.
-
Stick to one wash load at a time for best results.
-
Aim for about ¾ full so there’s plenty of room for air circulation.
Check your Whirlpool dryer’s use and care manual for exact load size recommendations, since capacity can vary by model. Keeping the load light enough for proper airflow will not only improve drying performance but also save energy and reduce wear on your dryer.

#2. Clothes Are Too Wet After Washing
Sometimes the problem isn’t with the dryer at all—it starts with the washer. If your clothes come out of the washer soaking wet, even the best dryer will struggle to get them dry in one cycle.
Common washer-related causes:
-
Choosing a wash setting without a spin cycle.
-
Using a low-speed spin that doesn’t extract enough water.
-
Washer malfunctions that prevent proper spinning.
If you notice your Whirlpool dryer not drying clothes effectively, check your washing machine first. Always select a wash cycle with a strong spin to remove as much water as possible before drying.
If clothes still feel excessively wet, your washer may need repair or service before your dryer can do its job.
#3. Dirty Dryer Lint Filter
Another frequent culprit behind a Whirlpool dryer taking too long to dry is a clogged lint filter. As clothes tumble, fibers break down into lint, which is designed to collect on the lint screen.
When the filter gets overloaded or hasn’t been cleaned regularly, airflow becomes restricted. Without proper circulation, clothes remain damp and drying times increase.
How to clean the lint filter properly:
-
Remove the lint screen from its compartment.
-
Use your hand or a paper towel to clear away lint after every drying cycle.
-
Periodically wash the lint screen with warm, soapy water to remove fabric softener or dryer sheet buildup.
-
Make sure the screen is completely dry before reinserting it.
Keeping the lint filter clean is one of the easiest ways to improve dryer performance and prevent common issues like overheating or blocked airflow.

#4. Dryer Vents Need Cleaning
Keeping your dryer vents clean is one of the easiest ways to boost efficiency, save energy, and protect your home from dangerous dryer fires. Here’s a simple 3-step process to keep your Whirlpool dryer running safely and smoothly.
Step 1: Clean the Lint Trap Vent
Even though the lint trap catches most fibers, smaller particles slip through and collect in the vent housing.
How to clean it:
-
Use a long, narrow dryer vent brush (found in most dryer duct cleaning kits).
-
Insert the brush inside the vent and sweep out the buildup.
-
Repeat until you’ve removed as much lint as possible.
-
Finish by vacuuming the vent with a slim attachment for a deeper clean.
💡 Tip: If it’s been a while, don’t be surprised if you remove a large amount of lint. Take your time, it’s worth it!

Step 2: Clean the Main Vent/Duct
This step is crucial for fire prevention. In fact, clogged dryer vents are a leading cause of house fires.
Here’s how to do it safely:
-
Pull the dryer away from the wall to access the back.
-
Unplug the dryer from the power source.
-
Detach the vent duct from the dryer.
-
Use your flexible dryer brush to sweep and roll through the duct.
-
If your duct is flexible, be gentle to avoid damage.
-
-
Reattach everything and plug your dryer back in.
🔥 Safety Reminder: Don’t skip this step! Lint buildup in the main duct is the biggest fire hazard.
#5. Part Malfunction
If dryer trouble continues even after these troubleshooting tips, it’s possible a part malfunction may be at fault. These components could be responsible for a Whirlpool dryer not drying appropriately and require professional service:
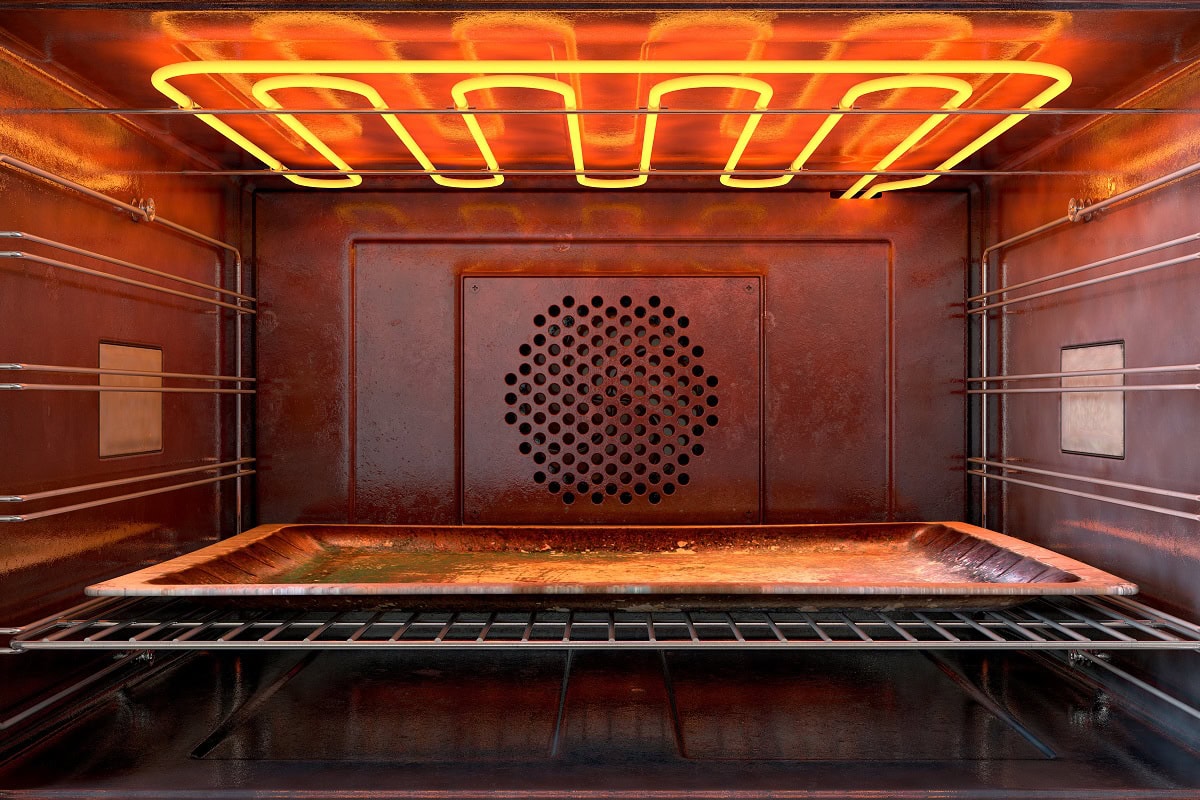
- Heating element: For electric dryers, the heating element provides the dryer’s heat. This metal coil contains electric wires, creating heat when they receive an electrical signal. If the element malfunctions, the dryer can’t produce warm air and the element must be replaced.
- Gas valve solenoid: In gas dryers, a set of gas valve solenoids open to allow gas to flow to the burner and heat the dryer. The dryer’s igniter typically indicates a gas valve problem by being unable to ignite the burner. When this happens, the set of gas valve solenoids should be replaced.
Ortega’s Appliance Service is the Albuquerque area’s premier dryer repair service. Let us help when you have a Whirlpool dryer not drying or any dryer malfunction.